Tuesday, June 29, 2010

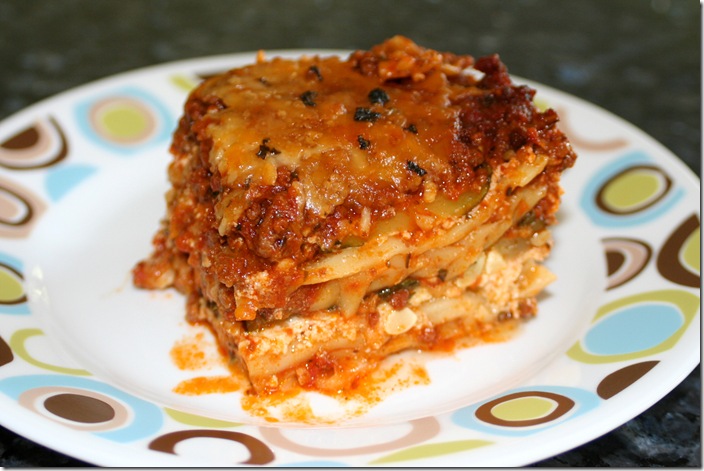
Zucchini & Spinach Lasagna

This is what happens when the garden is overflowing with zucchini and spinach, a delicious and wonderful lasagna.

IMG_1804Zucchini & Spinach Lasagna

This recipe makes two deep half pans.

  • 1 (12 oz) package Oven ready lasagna (no need to boil noodles or fresh or regular lasagna noodles but omit the water for fresh or pre-boiled noodles)
  • 2 lbs. Ricotta cheese (skim, part-skim, whole...doesn't matter)
  • 4 cups shredded Mozzarella cheese, divided
  • 1 cup grated Parmesan cheese, divided
  • 2 eggs
  • 1 large bunch of fresh basil, chopped
  • salt
  • fresh ground pepper
  • 3 large zucchini, sliced lengthwise about finger thickness
  • 2 cups fresh chopped spinach
  • 8 cups homemade Bolognese sauce (meat sauce) or other very thick sauce of your choice
  • 2 cups water (need to add to the sauce because I use the no-boil noodles and need the extra liquid but omit if you use fresh or pre-boil your noodles)

Preheat oven to 375 degrees.

In medium bowl combine Ricotta, 1 cup Mozzarella cheese, 1/4 cup Parmesan cheese, eggs, and about 2/3 of the basil, a couple of grinds of both salt and pepper. Mix well.

In another medium bowl combine the spaghetti sauce and water. Mix well.

In each pan: Spread 1 1/2 cups of meat sauce, place 1/4 of the package (4 pieces) of lasagna noodles over the sauce in each pan, spread 1/4 of the Ricotta cheese mixture over lasagna; top with 1/4 of the chopped spinach followed by 1/4 of the sliced zucchini. Add a layer of your meat sauce topped with 1/4 of the remaining Mozzarella and 1/4 of the remaining Parmesan. Repeat layering once, lasagna noodle, Ricotta mixture, spinach, zucchini, sauce and finishing with the Mozzarella and Parmesan cheese.

Wrap the lasagna tightly with heavy duty or a double layer of foil which you tent up a bit so that it doesn't lay on and stick to the cheese.

Bake for 75 minutes covered or until the lasagna is fork tender. Remove the foil and if cheese is not golden and brown, keep foil off and put lasagna back in the oven for 10 minutes or so until it reaches the desired color.

Let stand for at least 10 minutes before cutting and serving.

Enjoy!

Don't forget to enter my Bento book giveaway over on Maisie Eats Bento.

Sharing this recipe with many of the wonderful blogs listed in my side bar blog hop list.
Monday, June 21, 2010

Bento book GIVEAWAY!!!!


I was recently contacted by the Marketing and Social Media Coordinator for Quirk Books and she asked if I would be interested in receiving a review copy of Yum-Yum Bento Box: Fresh Recipes for Adorable Lunches, by Crystal Watanabe and Maki Ogawa. I quickly wrote back and let her know that I would love to receive the book BUT that I wanted to offer that book to one of my readers as I had already purchased a copy, loved it and wanted to share the love.  I have been a long time follower of Crystal's blog and a more recent follower of Maki's blog and as I can't get enough of their bento ideas and instruction on how to make super cute, fun and nutritious bentos, I couldn't wait to get my hands on the book.

I was thrilled when my book arrived (the one that I ordered and actually paid for!) as it is filled with over fifty photos of completed bento boxes, each with an ingredients list, step-by-step directions and even recipes.  The pictures teach the reader how to simply craft their food into an array of fun shapes from chicks, octopi, caterpillars, walruses, cars, and frogs to flowers, princesses, angels, bumblebees, kitty cats, ladybugs and even Little Red Riding Hood and bears.  There's a wonderful section on the boxes, tools and accessories needed and used to make the bentos as well as a shopping guide.  One of my favorite little things in the book is a two page spread on the ingredients for happy faces. Basically it's pictures and descriptions of ingredients, shapes and what to use to create the heads, eyes, noses, mouths, cheeks, ears, hair and even accessories for all the adorable food people and animals anyone might want to add to their bento.

Crystal and Maki put together a great book for anyone who likes playing with their food, wants to learn how to make adorable lunches for both children and adults and even those who just need some new ideas and inspiration.  I think one of the best features of the book is that it's simple, well laid out, with plenty of step-by-step photos and you don't need to be a cook or an artist to re-create the bentos.

Would you like to win a copy of  Yum-Yum Bento Box: Fresh Recipes for Adorable Lunches? If so, it's easy peasy, just go to this post for all the details.

Good luck!!

Saturday, June 19, 2010

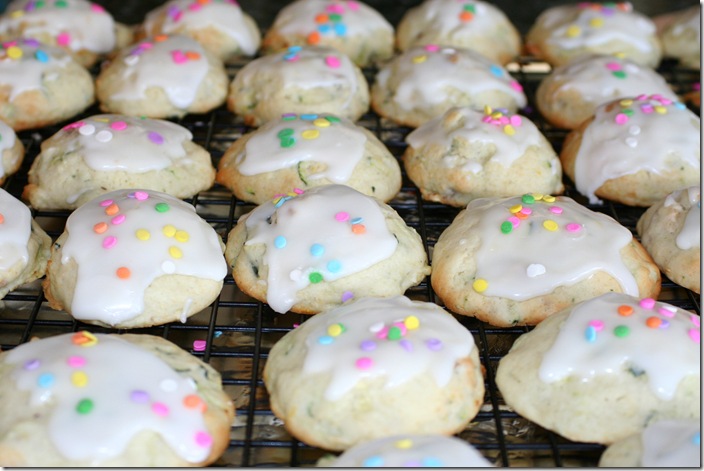
Zucchini Lemon Cookies

IMG_1734We are loving all the zucchini I am harvesting from the garden and so far all the recipes using the fresh zucchini have been a hit.  Maisie asked for some cookies so in another attempt to use some of the zucchini and get some extra veggies into all of us, I decided to make cookies.  These cookies were delicate, delicious, just a touch sweet and loved by everyone.

Zucchini Lemon Cookies

For the Cookie:

  • 3/4 cup butter
  • 3/4 cup sugar 
  • 1 egg
  • zest of two lemons
  • juice of 1 lemon
  • 2 1/2 cups flour 
  • 1 tsp baking powder 
  • 1/4 tsp salt
  • 2 cups shredded unpeeled zucchini
  • 1 cup coarsely chopped walnuts 

For Glaze:

Preheat oven to 375 degrees. Cream together the butter and sugar. Add egg the egg, lemon zest and juice and mix well. Add flour, baking powder & salt and stir well to mix. Stir in the zucchini and nuts. Using a 2 Tablespoon scoop, scoop out cookies onto Silpat or parchment lined cookie sheets. Bake for 10 minutes until bottoms are just slightly golden.

While cookies are baking, stir together the glaze ingredients, sugar and lemon juice, until smooth.

Once the cookies are finished baking, remove to a wire cooling rack and while still hot, frost and add the decorative sprinkles then allow to cool completely.

Enjoy!!

Thursday, June 17, 2010

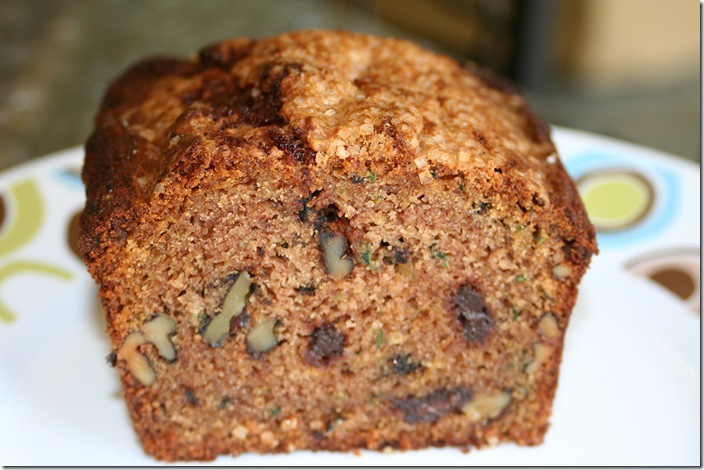
Zucchini Chocolate Chunk Walnut Bread

IMG_1738We have been pulling zucchini from our garden like crazy so I wanted to use it to make something sweet and delicious and also a bit healthy.  This Zucchini Chocolate Chunk Walnut Bread hit the spot and was a perfect way to use up some of the zucchini and also get a little bit of veggies into all of us.  This bread was moist, delicious and not too sweet.  We really loved the addition of the chocolate chips and nuts through out the bread.

Zucchini Chocolate Chunk Walnut Bread

Preheat oven to 350 degrees. Coat two 4 1/2-by-8 1/2-inch loaf pans with cooking spray. Add the zucchini, sugars, oil, and eggs to a large bowl and mix until combined. Add dry ingredients and mix well. Fold in nuts, chocolate chunks and extract. Divide the batter between the loaf pans and sprinkle 1 Tablespoon of the decorative sugar over each loaf. Bake until a tester inserted in the middle of each loaf comes out clean, about 1 hour 10 minutes. Cool 10 minutes on wire cooling rack. Invert to release loaf and then turn loaf right-side up and cool completely on rack before slicing.

Enjoy!!

Wednesday, June 16, 2010

Zucchini Fritters

  • 4 cups grated zucchini
  • 3 eggs
  • 1 medium Vidalia onion, minced
  • 3/4 cup flour 
  • 1/4 tsp nutmeg
  • 1/2 teaspoon salt
  • 1/4 teaspoon freshly ground pepper to taste
  • peanut oil or oil of your choice

Combine all of the ingredients except the oil, in a large bowl.  Stir to combine well removing any large lumps.  Heat a very thin coating of oil in a large cast iron skillet, over medium-high heat. Using an 1/8-cup measure, pour out a few cakes so not to over crowd your pan when they spread. Cook 2-3 minutes on each side until lightly browned. Drain on paper towels and while still hot, sprinkle with some additional salt & pepper to taste.

Personally I love these cold the next morning for breakfast, yum!!  Since they are so moist with the zucchini, they are great reheated so you can make them in advance.   Top with a little sour cream & caviar for a fancy appetizer.

Enjoy!

Related Posts with Thumbnails