Wednesday, February 29, 2012

Crab Cake Stuffed Mushrooms

IMG_3534eThe reason that I call these Crab Cake Stuffed Mushrooms is because I use the exact same recipe to make crab cakes but I like these better as I’m adding the mushroom and I’m not frying anything.  If you choose to make these into crab cakes just leave out the mushroom and with the filling, pat it into cakes, dust lightly with flour and fry in a hot skillet drizzled with oil.  Fry until browned, 4-5 minutes and then carefully flip to fry the other side until golden.

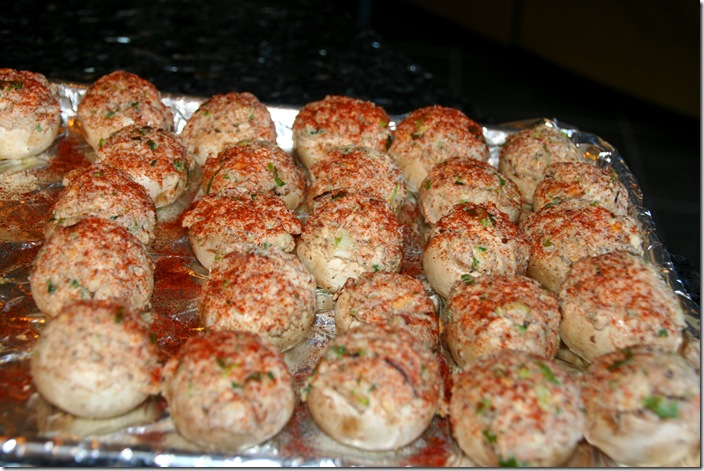
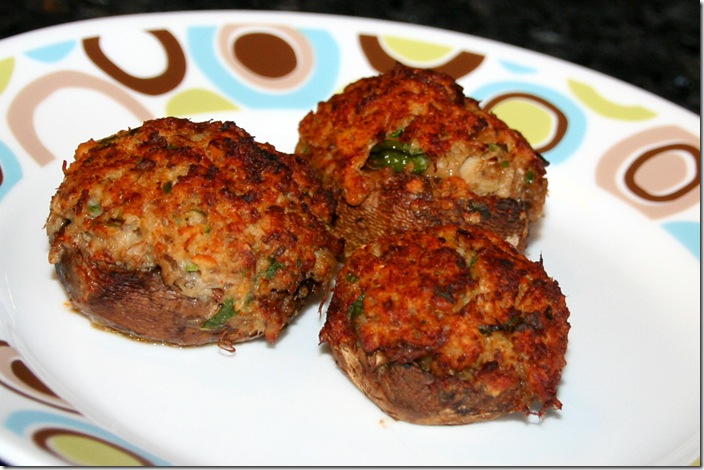
IMG_3518e1Using a tablespoon I fill the mushrooms really full with the filling and then I sprinkle on some paprika.  These are ready for the oven.

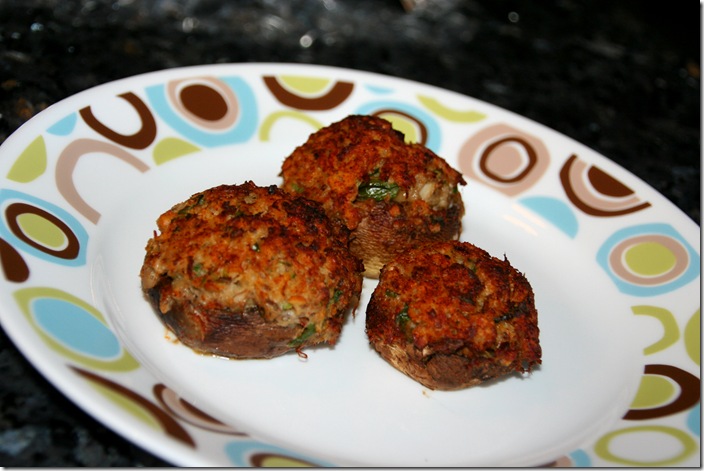
IMG_3532eCrab Cake Stuffed Mushrooms

Preheat oven to 400F.  Line a baking sheet with foil and spray with cooking spray

Clean the mushrooms, remove the stems and with a spoon scoop out the gills.  Set aside the stems and gills for another recipe, (soon to be posted.)  In a large bowl, except for the mushroom caps, mix together all the ingredients.  Using a Tablespoon fill the mushroom caps nice and high with the filling.  Place the filled mushrooms on the prepared baking pan and dust with paprika. 

Bake for 20 minutes until the mushrooms are tender and the top of the filling is golden brown.

Enjoy!

Monday, February 27, 2012

Health(ier) Peanut Brittle

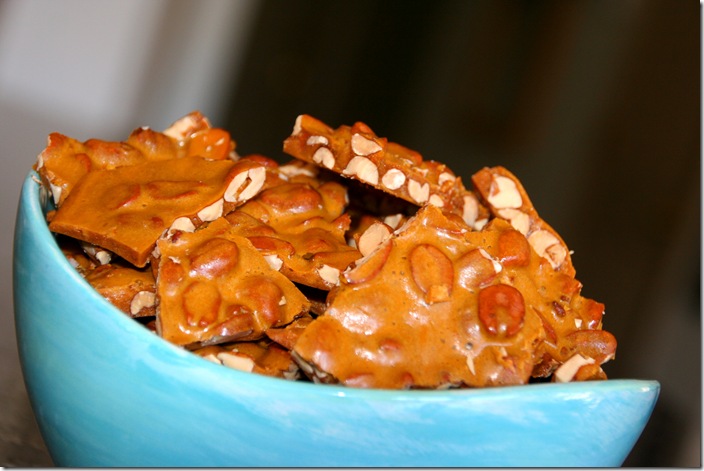
IMG_3618e A very fortuitous thing happened yesterday morning, almost like it was meant to be.  Let me back up a bit and you’ll understand what I’m talking about.  If you’ve followed my Moments with Maisie blog you’ve read about our struggles with Maisie’s chronic nasal congestion.  We found out back in November that Maisie’s allergic to wheat, egg whites and dairy so we removed all those items from her diet and she seemed to be doing somewhat better.  The nasal congestion that was right in her nose cleared up and it wasn’t wet and blue up there anymore.  But unfortunately the removal of those foods did not completely clear up her condition and the congestion seemed further back in her sinuses.  There was a thought that her adenoids could be the problem but after a visit to an ENT that was ruled out.  Our next stop was the allergist who performed further allergy tests only to find out that there were no additional allergies.  He then sent her for a CT scan where they found that Maisie had a major infection in her sphenoid sinuses.  He put her on a 28 day course of Augmentin and then a probiotic was added to help with the stomach side effects.  By day six Maisie was suffering so much, unable to sleep more than four hours due to being so congested when she was laying down, the doctor started her on steroids to try to reduce the swelling and allow her sinuses to open up a bit and provide her some relief.  Sadly the steroids only seemed to affect her mood, focus and attention and didn’t do the trick in helping her sinuses so after the five day course something else needed to be done. 

Now that I’m medically qualified to make such decisions, thanks to my many consultations with Dr. Google, we are starting something new with Maisie.  I found out that certain foods contribute to chronic nasal congestion with the biggest culprits being wheat, dairy, refined white sugar & high fructose corn syrup.  Since we’ve already completely removed wheat and dairy from Maisie’s diet we decided to see what would happen if we also removed the white sugar and corn syrup…I mean it can’t hurt and hopefully, fingers crossed, this will help my sweet little Maisie Miao Miao

Now that you’ve slogged though my big long back story, let me get back to the fortuitous event that happened yesterday morning, well fortuitous for me and Maisie.  I was online looking up some recipes so that I could make something sweet and special for Maisie as many of her current treats contain the white sugar and/or corn syrup that we’re trying to cut out and she needs some treats and the calories that go along with them.  Up pops an email from Amanda saying that The Secret Recipe Club group ‘D’ hostess April, needed someone to step in and cook from a blog that was orphaned for today’s reveal when the original assignee backed out at the last minute.  Though I already posted my group ‘A’ Secret Recipe Club recipe this month, without a second thought I emailed that I was available and up for the task as I’d hate to see anyone in the group left orphaned without someone cooking from their blog.  Amanda messaged me the blog url and I set off, excited to see what I would be making.  I opened up Bean’s Without Adornment blog and was immediately mesmerized by her gorgeous photos.  Without even reading I started paging through just ogling the photos but I started noticing the words ‘gluten free’ and ‘vegan’ and my excitement built.  I stopped drooling over her photos long enough to click over to her recipe list and immediately started the happy dance when this came up on my screen: 

“Here are a compilation of all the recipes I have shared since I started this blog. I have done my best to indicate which common allergens are not in each recipe. Every recipe is gluten free unless otherwise indicated.

DF – Dairy Free
EF – Egg Free
RSF – Refined Sugar Free
SF – Soy Free”

Well WOOHOO!!! I was meant to find this blog and I knew that here I would find a sweet, Maisie “safe”, refined-sugar-free treat for my girl.  I scanned the recipe list and her codes and first looked at her Vegan Raspberry Bars.  The bars looked wonderful but I quickly realized that I didn’t have any of the various flours in the house and in all honesty, I’d be making them more for me than for Maisie as they’re more my taste so I moved on.  I then saw that she had a candy section with a recipe for Peanut Brittle which I knew would be something that Maisie would enjoy.  I opened up the recipe and it was perfect as it not only fit Maisie’s dietary needs but I had all the ingredients in my panty…Kismet!    
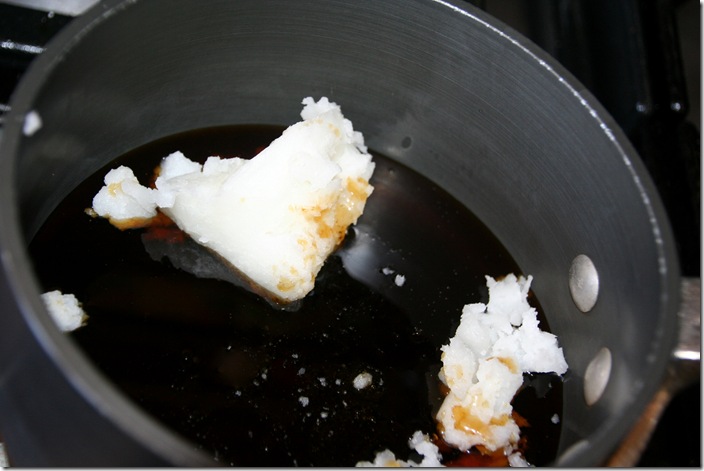
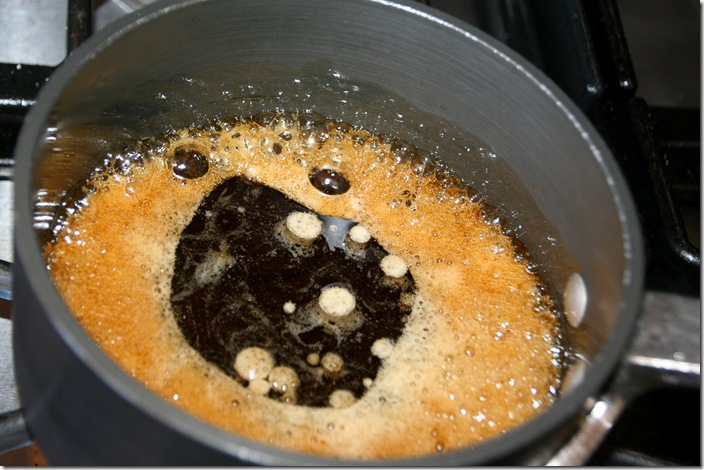
IMG_3548eCoconut oil and Agave in a small pot.

IMG_3552eBring to a boil.

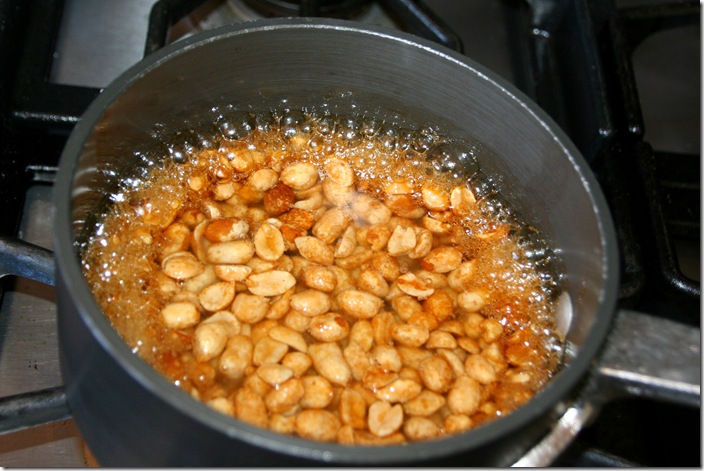
IMG_3555eStir in the peanuts.

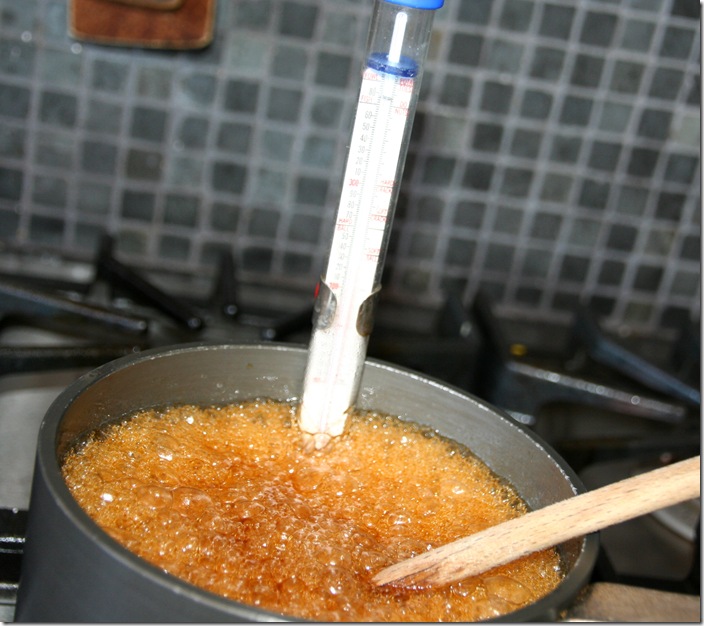
IMG_3556eAttach a candy thermometer to the pot and stir continuously.
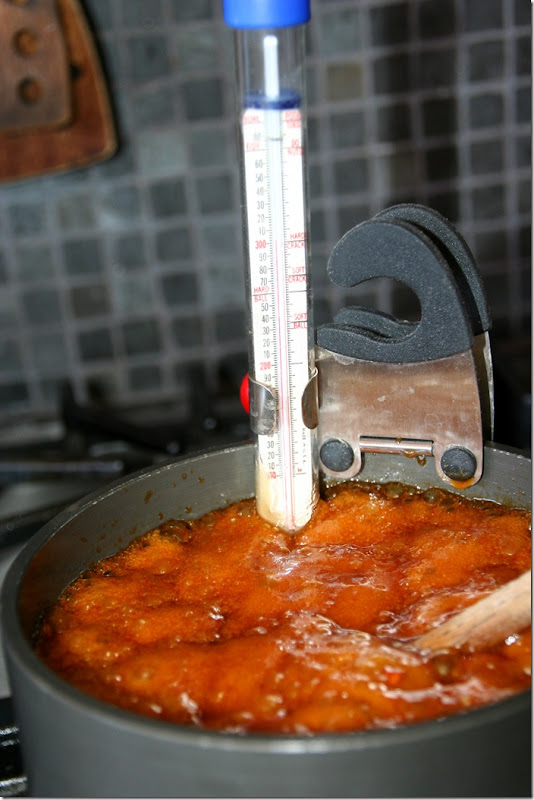
IMG_3564e Once the mixture reaches hard crack (300F) it will be thick, remove from the heat and stir in the baking soda and salt being careful that the mixture doesn’t boil over. 
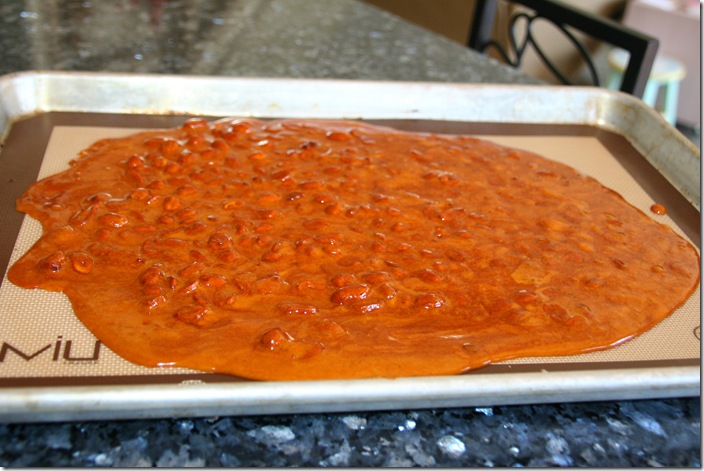
IMG_3566ePour the hot mixture onto a Silpat or parchment paper lined baking sheet. 
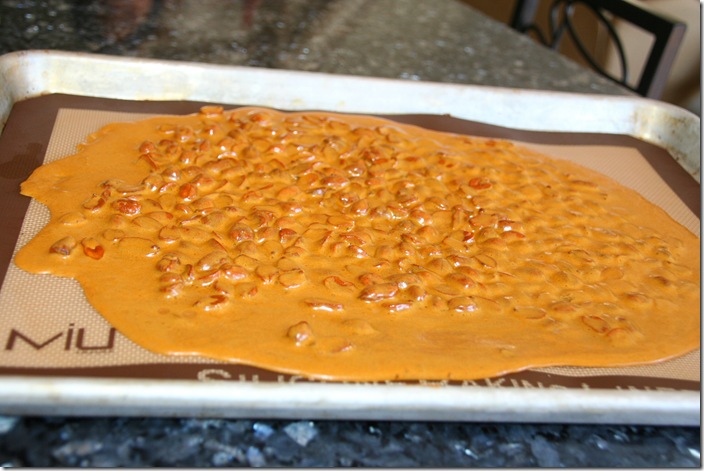
IMG_3587eChill the candy completely in the freezer.
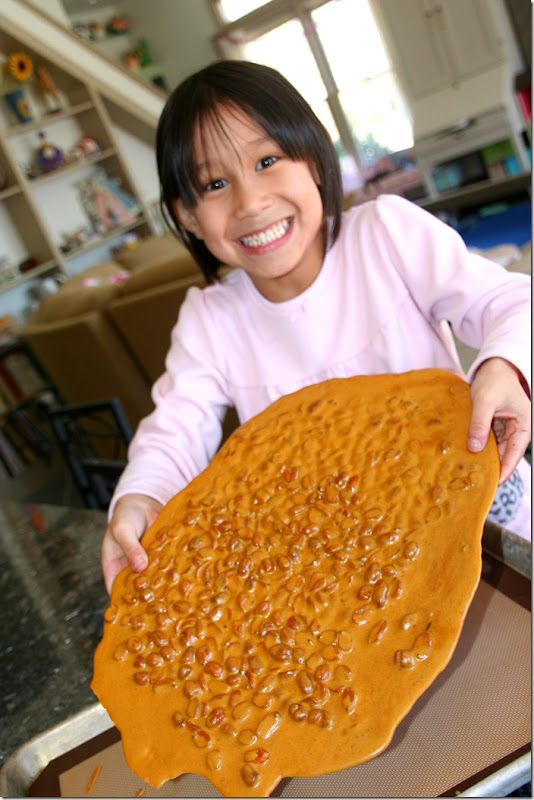
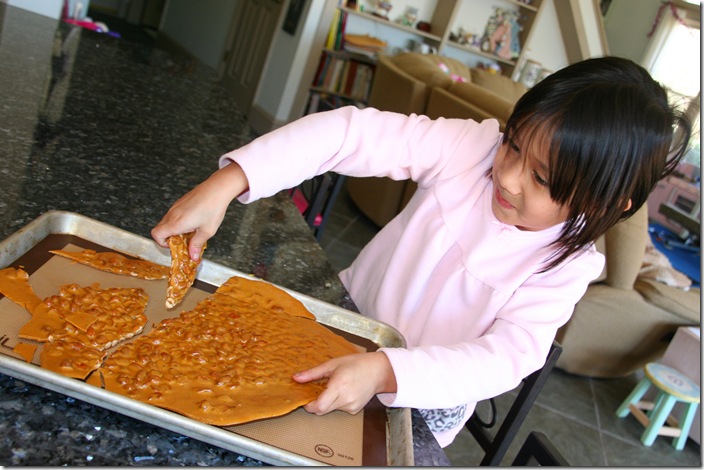
IMG_3589eOnce the Peanut Brittle is set it’s easy to lift from the pan.
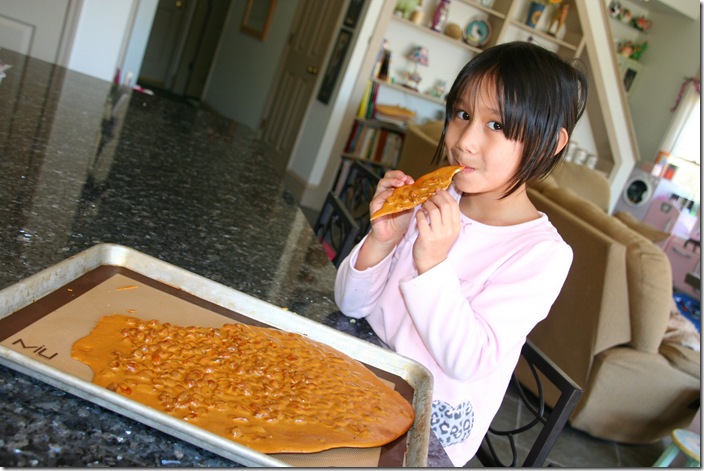
IMG_3598eMaisie, trying her Peanut Brittle.

IMG_3602e This candy was simple to make but I kept Maisie away from the process for fear of her getting splashed and burned so she was happy to help break the brittle.
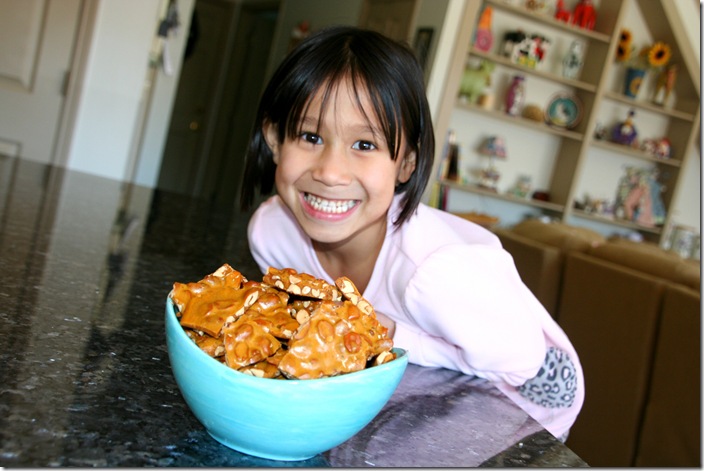
IMG_3611eMaisie, delighted with her big bowl of Maisie “safe” Peanut Brittle.
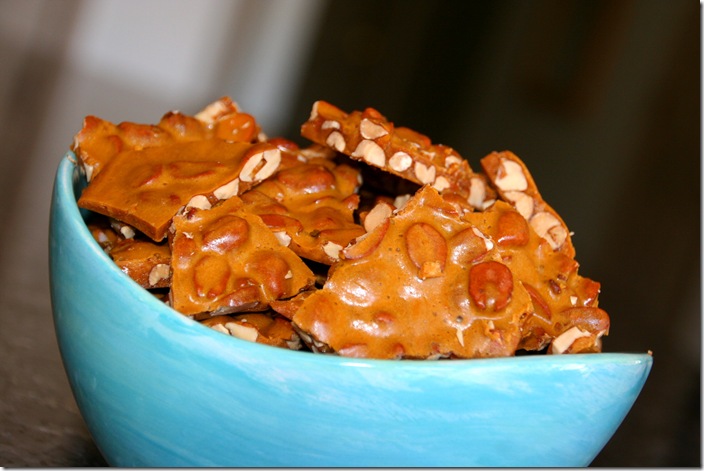
IMG_3613e Health(ier) Peanut Brittle  (from here)

Measure agave and coconut oil into a small to medium sized pot. Bring to a boil. Once boiling, add the peanuts.  Stir continually for 20-30 minutes until you’ve reached hard crack temperature (300F).  Remove from heat and stir in salt and baking soda. It will be very frothy so be careful that it doesn’t bubble over.  Pour onto a Silpat or parchment paper lined baking sheet. Put into freezer for two hours to cool.  Once cool, break into pieces.  Store in a sealed container in the refrigerator.

Enjoy!

My previous Secret Recipe Club Recipe Posts:

Crunchy Fudgy Heart Bites 
Texas Chicken with Lime Butter 
Pork Belly Soup with Collard Greens 
Thin Mint Irish Coffee 
Levain Chocolate Chip Walnut Cookies 
Welsh Cakes 
Nutella Crêpes 
Cilantro Lime Chicken 
Holy Guacamole 
and
Home Style Chicken Curry 

Wednesday, February 22, 2012

Baked Egg & Avocado

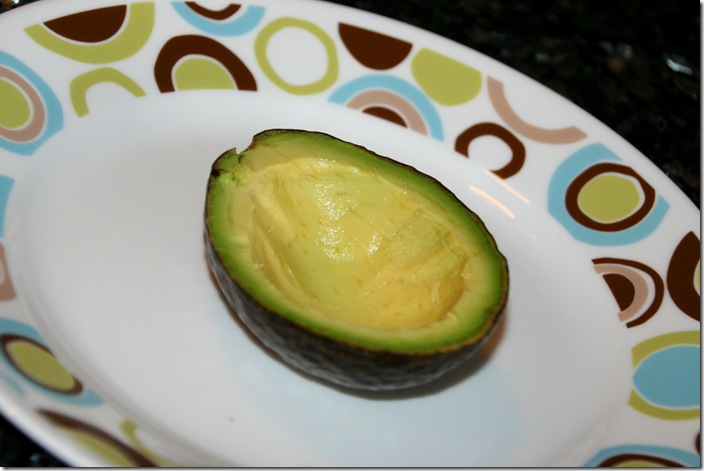
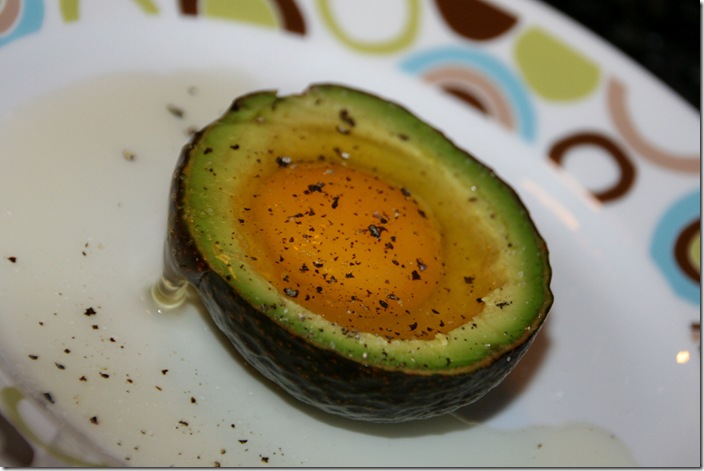
IMG_3239e Not only have I lately been on a lemon kick with my Glazed Lemon Squares, Ponderosa Lemon & Sour Cream Tart, Dark Chocolate Dipped Candied Lemon Peels and my Double Chocolate Meyer Lemon Mousse Cake but I’ve also been on a major avocado kick, adding it to a lot of salads, sandwiches, soups and other dishes.  A while back I saw a picture of an egg baked in an avocado (sorry I don’t remember where so as to give credit) and the other morning I awoke dreaming of it so I had to make it.  IMG_3222eI cut an avocado in half, removed the pit and scooped out a bit of the flesh to make room for the egg.

IMG_3227eObviously I didn’t quite scoop out enough as my egg runneth over.  No worries though as I just used what my avocado could hold. I added salt and pepper and then I carefully transferred the egg filled avocado to the hot pan in the oven,

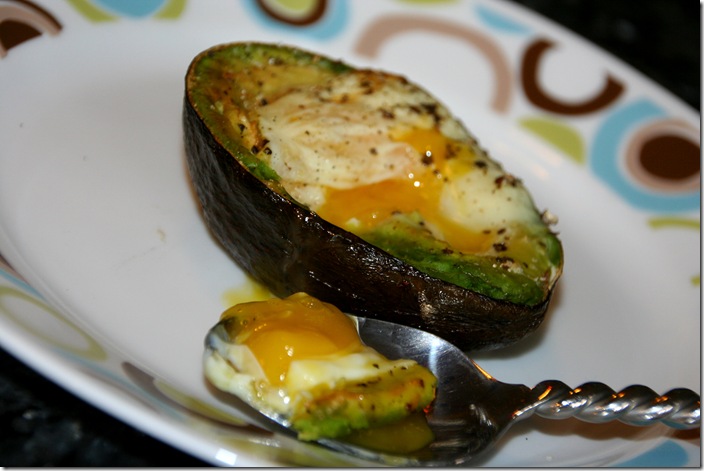
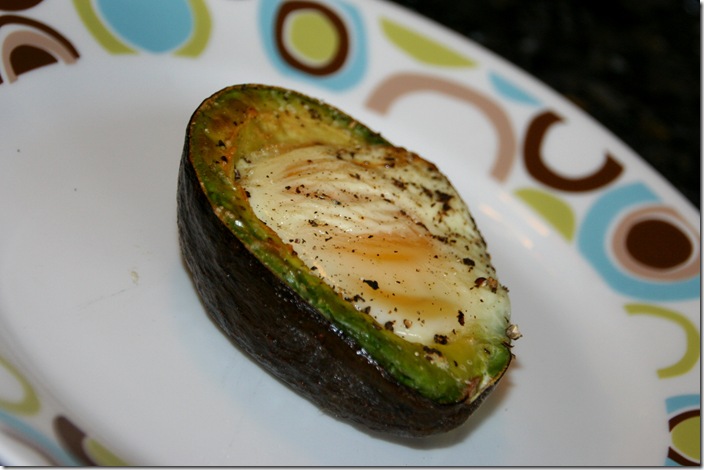
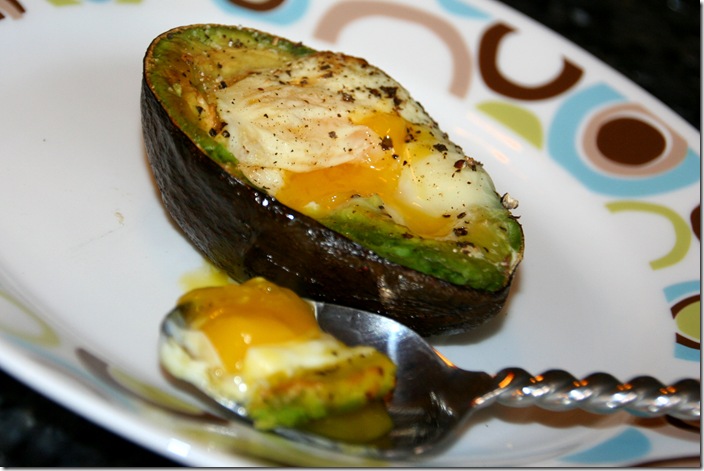
IMG_3234eHot and delicious straight from the oven.  The white was nicely set, the the yolk was still soft and a bit runny and the warm avocado was creamy…pure deliciousness!


IMG_3241eBaked Egg & Avocado
for each serving:

  • 1/2 an avocado, pitted and some of the flesh removed to make room for the egg
  • 1 small or medium egg
  • salt & pepper to taste

    Place a heavy bottomed oven safe pan in the oven and heat to 425 F.  Fill the prepared avocado with an egg and add salt & pepper to taste,  Once the oven is hot carefully transfer the filled avocado halves to the hot pan.  Cook for 10 minutes or until your eggs are at the firmness you desire.

Enjoy!

Sunday, February 19, 2012

Apple Pancakes

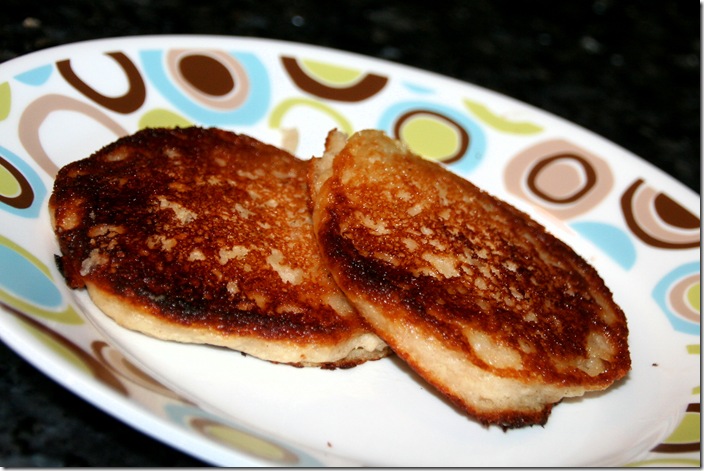
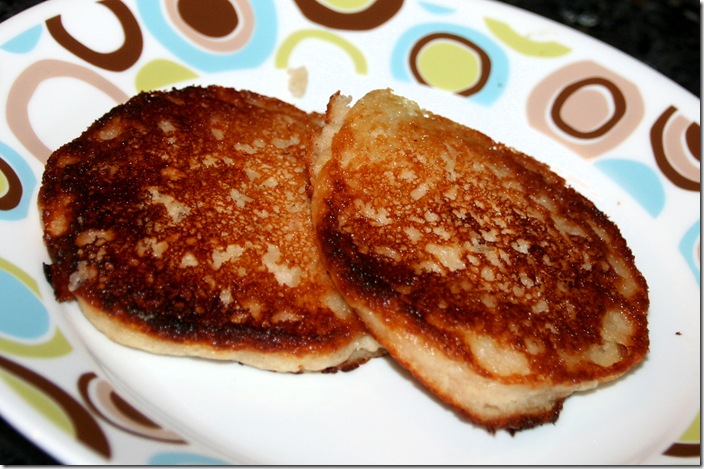
IMG_3412e Do you ever see a recipe on a blog and have to instantaneously check your pantry to see if you have the ingredients on hand to make it…immediately?  Well that’s what happened last Sunday night when I saw Chaya’s recipe for Apple Fritters on her My Sweet and Savory blog.  Something about her recipe called to me and all I could think was that I had to make it…well my version of it.  I took great liberties with her recipe as I had to adapt the recipe based on what I had on hand in the pantry and also to make it Maisie “safe” as the original recipe called for an egg which Maisie can’t eat and then I didn’t want it too sweet so I omitted all the sugar…and the salt…and the nutmeg, but what a perfect quick Sunday night dinner.  I’ll bet that Chaya’s were wonderful and these were wonderful so make either one as these were easy and delicious.  We all really enjoyed the flavor, the texture and sweetness of the pancakes and honestly, had I not known these were wheat, egg & dairy free, I never would have guessed it.  Another wonderful thing about this recipe is that the pancakes stayed well wrapped in the refrigerator and then reheated beautifully in the microwave so Maisie was able to enjoy the leftovers a couple of mornings for breakfast. 

IMG_3409eApple Pancakes (Adapted from here)

1 cup gluten-free pancake & waffle mix
1 TBS chia seeds
2 TBS boiling water
2/3 cup Almond Breeze original
1 small apple, peeled, cored and grated
1/4 cup applesauce
1/4 tsp. ground cinnamon
1 TBS. vegetable oil, plus more for pan

maple syrup

In a medium bowl mix together the chia seeds and boiling water, stir well and allow to sit for five minutes.  Then add the Almond Breeze, grated apple, applesauce, cinnamon and 1 Tablespoon oil and stir to mix well.  Add the pancake mix and stir to combine.  Heat a large cast iron skillet and lightly coat with vegetable oil.  Using a large cookie scoop measure out the batter into the pan.  Cook until golden brown and then flip to brown the second side.  Serve with maple syrup or additional applesauce.

Enjoy!

Thursday, February 16, 2012

Shrimp & Avocado Salad with Carrot Ginger Dressing

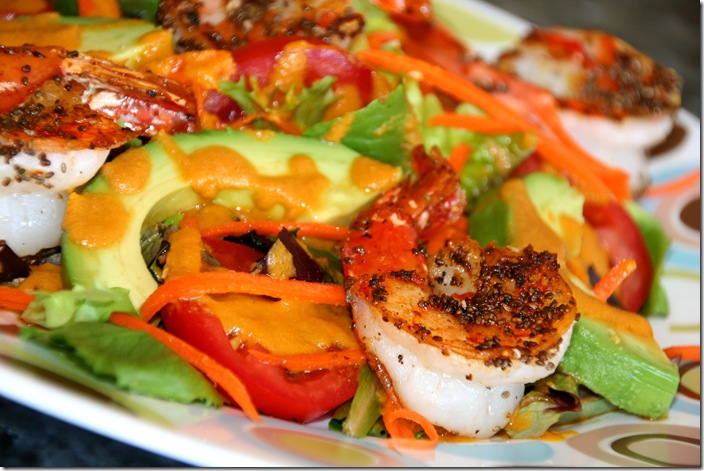
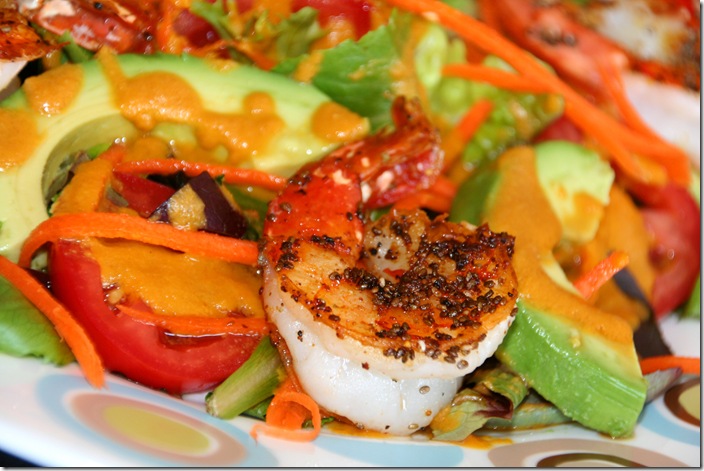
IMG_3287e This is my fifth month participating in the Improv Cooking Challenge which is hosted by Kristen of Frugal Antics of a Harried Homemaker.  As always I looked forward to participating and finding or coming up with a great recipe which included the two theme ingredients.  This month the participating bloggers were asked to make any recipe of their choosing using the two given ingredients of ginger and carrots.  At first I was going to make a soup, being that it’s winter…supposedly…as our temperatures had been balmy and gorgeous…well until this past week when we hit the deep freeze…but even so, I decided to make something light, healthy and fresh, thus my Shrimp & Avocado Salad with Carrot Ginger Dressing.  I loved this salad so much and as I had plenty of dressing, I ended up eating it for lunch five days in a row,.

This Carrot Ginger Dressing is very similar to what is served in Japanese restaurants so if you enjoy it out I’d suggest making it at home as it’s super simple and it keeps in the fridge for about a week.

My previous Improv Cooking Challenge entries:

January 2012 Lemon & Sour Cream:  Ponderosa Lemon & Sour Cream Tart 
December 2011 Eggnog & Cranberries:  Eggnog Popovers with Cranberry Butter 
November 2011 Pumpkin & Cream Cheese:  Praline Pumpkin Cheesecake 
October 2011 Caramel & Apples:  Caramel Stuffed Apple Cider Cookies 

IMG_3289e Shrimp & Avocado Salad with Carrot Ginger Dressing

raw shrimp, peeled & deveined, tail left on
Shichimi togarashi
chia seeds
baby salad greens
avocado, peeled & sliced
tomato, sliced
carrot, julienned

Dry the shrimp well and then lightly sprinkle with the Shichimi togarashi and chia seeds.  Cook the shrimp under the broiler or in a lightly oiled hot pan until they are opaque and just cooked through.  Arrange the salad greens, avocado, tomato, cooked shrimp and carrots on a plate and drizzle on the Carrot Ginger Dressing.


Carrot Ginger Dressing

1 medium carrot, peeled and coarsely chopped
1/4 cup chopped onion
1/4 cup rice vinegar
1/4 cup reduced sodium soy sauce
1 1/2 TBS. chopped peeled fresh ginger
fruit pulp from 1/2 of a lemon
1 TBS. ketchup
1/4 tsp. Shichimi togarashi 
2 TBS. water
1/2 cup Grapeseed oil

Put all the dressing ingredients in a blender and process until smooth. Will keep in a sealed container in the refrigerator for about a week.

Enjoy!

Monday, February 13, 2012

Malted Pretzel Crunch

WARNING:  Do not make this recipe!

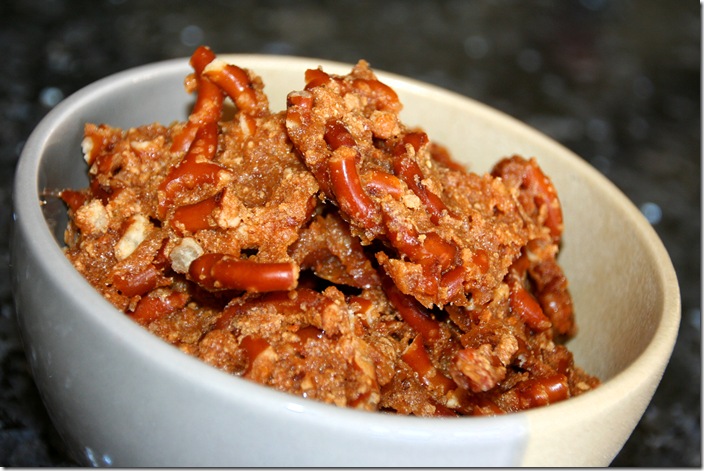
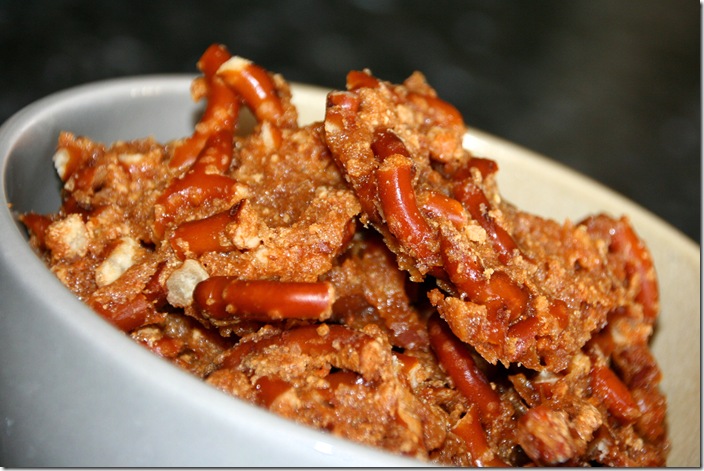
IMG_3299eI swear this is the sweet & salty snack version of “crack” because after just one bite you’re addicted and before you know it you’ve eaten the entire batch, are jonesing for more and thinking up excuses to make another batch or three or four so that you can actually share some while getting your fix.  My bloggy pal, Lisa of Parsley, Sage, Desserts and Line Drives posted her Malted Pretzel Crunch for Super Bowl Sunday a mere ten days ago and I’m embarrassed and not going to admit how much of this “crack” I have made and consumed.  If my Spicy Brown Sugar Bacon wasn’t addiction enough, now I have a new one so thanks a lot Lisa, thanks a lot!

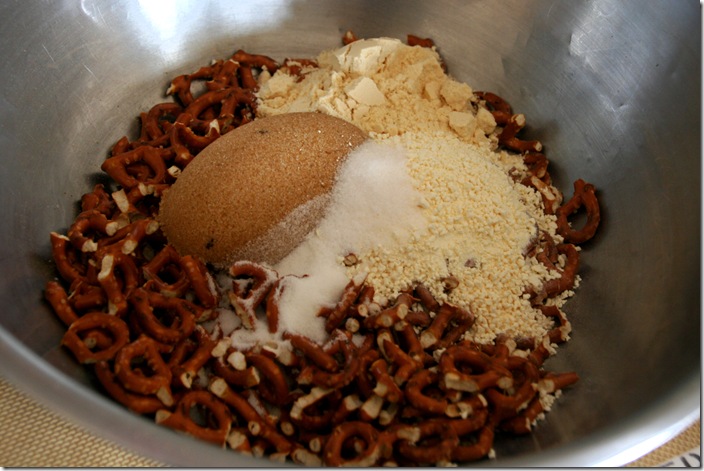
IMG_3243eAdd the pretzels and dry ingredients to a bowl.

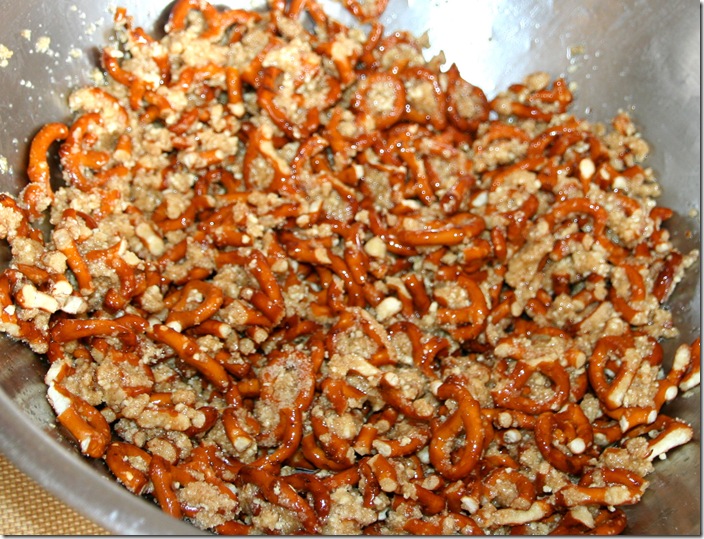
IMG_3245eMix in the melted butter,

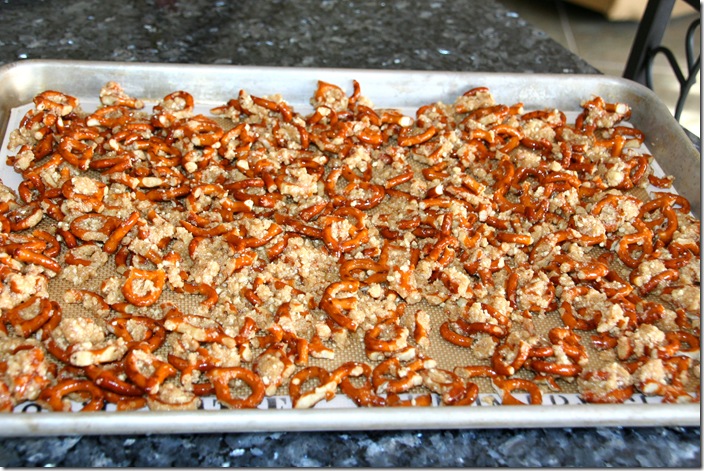
IMG_3247eSpread the mixture onto a Silpat lined baking pan.

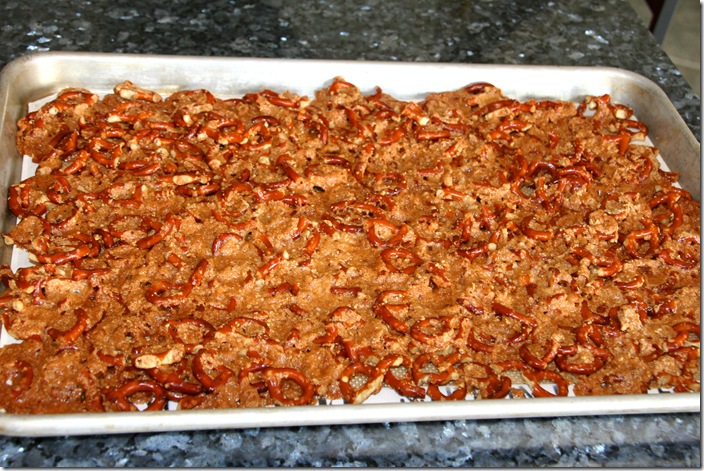
IMG_3253eOne hot delicious mess straight from the oven,

IMG_3295eMalted Pretzel Crunch (recipe from here) 

4 cups salted mini pretzels – about 1/2 of a 16-ounce bag
1/2 cup tightly packed brown sugar
1/4 cup granulated sugar
6 tablespoons milk powder
1/4 cup malt powder
1 teaspoon salt
14 tablespoons butter (1 stick, plus 6 tablespoons), melted

Preheat the oven to 275 F.

Pour the pretzels in a large bowl and crush them with your hands to one-quarter of their original size. Add the brown and granulated sugars, milk powder, malt powder & salt and toss to mix. Add the melted butter and toss to coat. As you toss, the butter will act as glue, binding the dry ingredients to the pretzels and creating small clusters. (I did not get small clusters but once baked, it formed a sheet of pretzel crunch that I broke into pieces).

Spread the clusters on a Silpat or parchment paper lined sheet pan and bake for 20 minutes, until it looks toasted and smells buttery. 

If you can wait long enough before starting to snack, cool the pretzel crunch completely. Once completely cooled, if there’s anything left, break into pieces.  Store the crunch in an airtight container at room temperature, the crunch will keep fresh for 1 week (not in this house mind you); in the fridge or freezer, it will keep for 1 month. Lisa’s comment and I agree,  “I think these would be fantastic in cookies with chocolate chunks OR pour or drizzle melted chocolate over the top of the sheet of pretzel crunch, let set, then break into pieces – like toffee.”

Enjoy!

Tuesday, February 7, 2012

Double Chocolate Meyer Lemon Mousse Cake

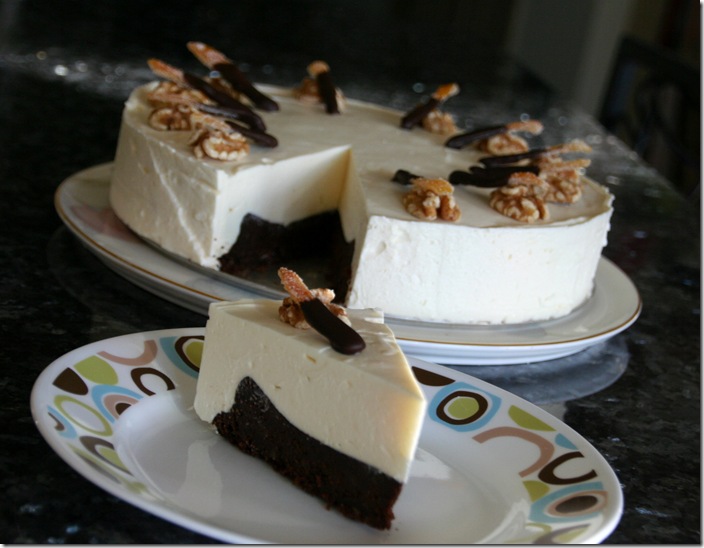
IMG_3150eIt’s Crazy Cooking Challenge time again and this month our hostess Tina of Moms Crazy Cooking challenged the participating bloggers to search non-celebrity blogs looking for the ultimate chocolate cake recipe.  Once we find what we think is the ultimate recipe we are to make and feature that recipe and the blog where we found it.  I posted recently in my Dark Chocolate Dipped Candied Lemon Peel post that since making my Ponderosa Lemon & Sour Cream Tart I’ve been on a major lemon kick so when I saw Mimi’s Double Chocolate Tangerine Mousse Cake I knew immediately that I could tweak the recipe a bit switching out the tangerine for lemon and I could get my tangy lemon fix, still meet the requirements of making a chocolate cake while also making the ultimate chocolate cake.

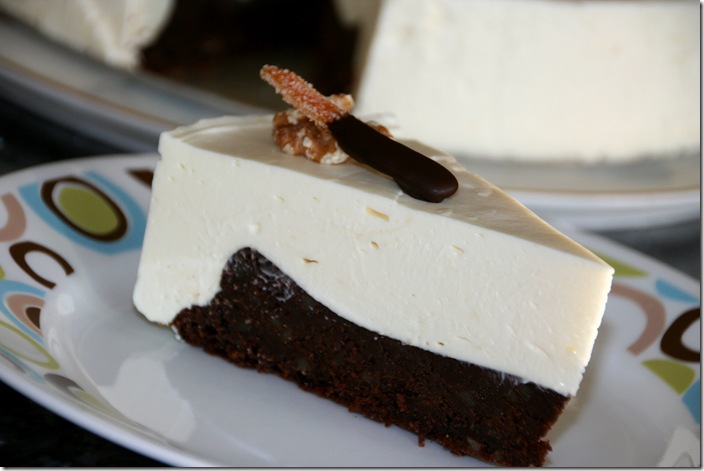
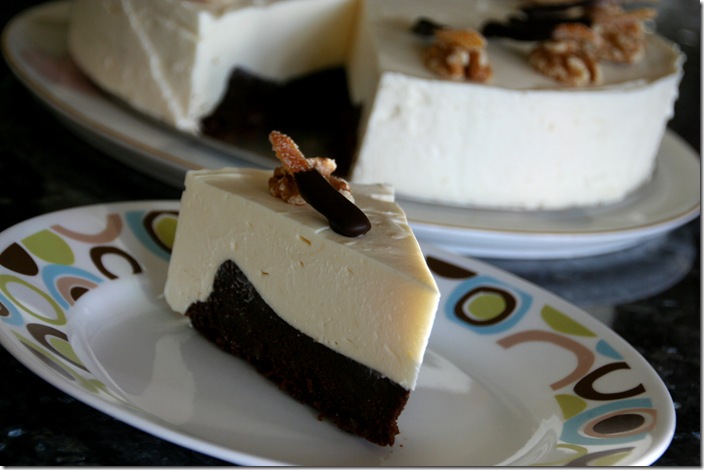
IMG_3146eThis cake used both white and dark chocolate and that combined with tangy lemon, well it was exactly what I had been craving.  The chocolate cake is flourless so it’s dense and rich.  The mousse uses gelatin which is something that I haven’t done before but it seemed to help the mousse keep it’s shape but the mousse remained light, soft, rich and creamy.  Everyone who tried the cake thought it was beautiful and adored the rich flavors…and they were rich so small slices are a must.  If you adore dark chocolate and lemon like we do, I think you will find this to be a favorite in your home too.

My previous Crazy Cooking Challenge entries:
Chicken Noodle Soup Challenge: Thai Chicken Noodle Soup
Fudge Challenge: Biscoff Fudge
Mashed Potato Challenge: Aloo Tikki
Chocolate Chip Cookie Challenge: Chocolate Chip Gingersnaps
Mac & Cheese Challenge: Velvety Mac & Cheese 

IMG_3149eDouble Chocolate Meyer Lemon Mousse Cake  (Adapted from here)

Cake
1 cup butter
9 oz. dark chocolate chips
3/4 cup sugar
5 large eggs
1/2 cup ground toasted walnuts

Mousse
1 cup fresh Meyer lemon juice
1/3 cup lemon sugar syrup from making the Dark Chocolate Dipped Candied Lemon Peel
2 1/2 teaspoons unflavored gelatin
12 oz. white chocolate chips 
6 TBS sour cream
2 cups chilled whipping cream

Garnish:
Dark Chocolate Dipped Candied Lemon Peel
walnut halves, toasted

For Cake:
Preheat oven to 325°F. Butter an 8-inch round cake pan with cutter and then dust with cocoa powder.  Melt the butter and chocolate chips in a microwave safe bowl, checking and stirring often until smooth.  Whisk in the sugar, eggs and ground nuts. Pour the batter into prepared pan. Bake the cake until a toothpick inserted into center comes out with very moist crumbs attached, about 45 minutes. Cool completely on rack (cake will fall and crack).  Once cool, using the pan’s cutter release the cake from the pan.

Lightly brush the sides of a 10-inch springform pan with vegetable oil. Set the cooled cake in center of pan (there will be space around cake that will be filled in with mousse). Refrigerate cake.

For Mousse:
Place 3 TBS of the lemon juice in a small bowl and sprinkle in the gelatin. Let stand for 10 minutes to allow the gelatin to soften.  Meanwhile, simmer the remaining lemon juice and lemon sugar syrup, stirring until combined, about 3 minutes.  Add the gelatin mixture to the lemon juice mixture and stir to dissolve.  Add 12 ounces white chocolate and whisk over low heat just until melted.  Remove from heat and whisk in the sour cream. Pour the lemon white chocolate mixture into a large bowl. Chill the mixture until cool and thickened but not set, whisking occasionally, about 1 hour 45 minutes.

Beat the chilled whipping cream to stiff peaks. Fold into the lemon white chocolate mixture. Pour the mousse over the chocolate cake in the springform pan, covering the top and sides completely. Refrigerate cake overnight.

Run a small sharp knife around pan sides to loosen cake. Release pan sides. Place cake on platter. Garnish as desired.

Enjoy!

Photobucket

Monday, February 6, 2012

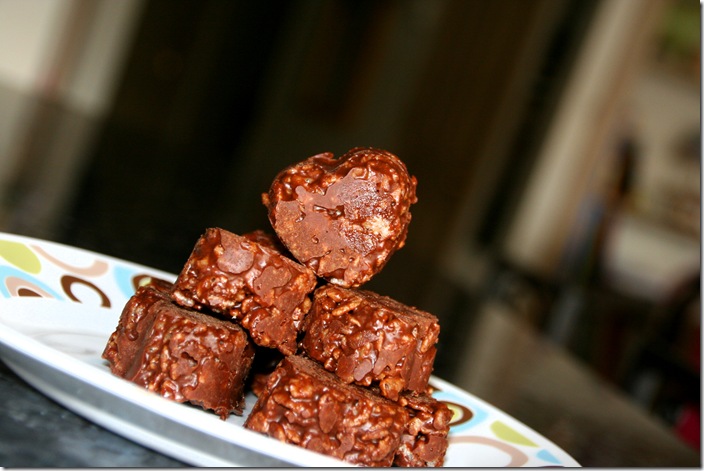
Crunchy Fudgy Heart Bites

IMG_3085eAfter a month off because of some administrative and housekeeping changes in how things run at The Secret Recipe Club it’s nice to be back cooking and posting my Secret Recipe Club posts again.  Each month participating Secret Recipe Club members are each assigned a blog from which they can make any recipe of their choosing and this month I was assigned Anne’s blog, Quick and Easy, Cheap and Healthy.  As it works out, Anne has a “Certain Little Someone” who like Maisie has food allergies so right off the top I decided that this month I would make a delicious Maisie “safe” treat.   After perusing the “Allergy-Friendly” section of Anne’s blog I decided to make her Simple Fudgy Bites

IMG_3077eMaisie and I made the super simple Fudgy Bites together but as we went along Anne’s recipe got changed a bit.  We started with Anne’s recipe only switching out her sunflower butter for the peanut butter that I already had in the house.  We mixed together all the ingredients and Maisie tasted the “fudge” and said that it was too smooth and needed something.  We added in some ground walnuts, which I have been adding to a lot of recipes lately as I’ve been trying to get some extra healthy calories into all of Maisie’s food.  After the addition of the walnuts Maisie said that it still needed more crunch so a quick look in the pantry and we decided Rice Krispies would be a great crunchy addition.   

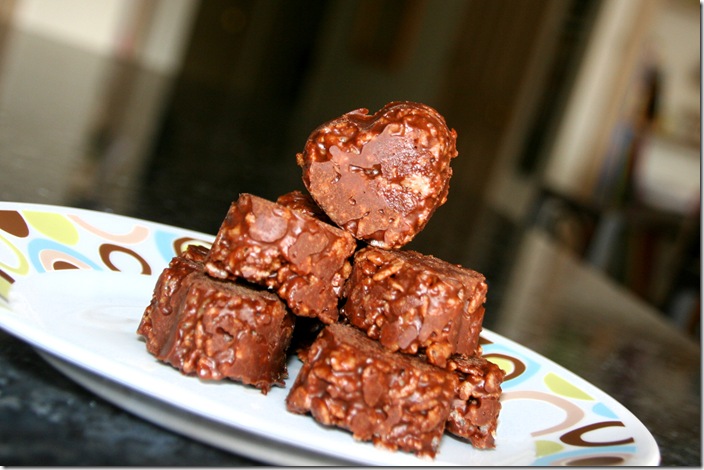
IMG_3094eIn the end, Anne’s Fudgy Bites with Maisie’s crunchy additions were a big hit with my girl!

IMG_3082e1Crunchy Fudgy Heart Bites (Adapted from here)

1/4 cup coconut oil
1/4 cup cocoa
1/4 cup peanut butter
1/8 cup honey
1/2 tsp. vanilla extract 
1 cup ground walnuts
1 1/2 cups Rice Krispies

In a food processor blend the coconut oil, cocoa, peanut butter, honey and vanilla extract until smooth.  Pour the mixture into a large bowl and stir in the ground walnuts and Rice Krispies.  Evenly scoop the mixture into a mini heart silicone muffin mold and refrigerate until set.  Press the bottom of each muffin cup to release the Crunchy Fudgy Bites.  Keep refrigerated.

Enjoy!

My previous Secret Recipe Club Recipe Posts:

Texas Chicken with Lime Butter
Pork Belly Soup with Collard Greens
Thin Mint Irish Coffee
Levain Chocolate Chip Walnut Cookies
Welsh Cakes
Nutella Crêpes
Cilantro Lime Chicken
Holy Guacamole
and
Home Style Chicken Curry
Thursday, February 2, 2012

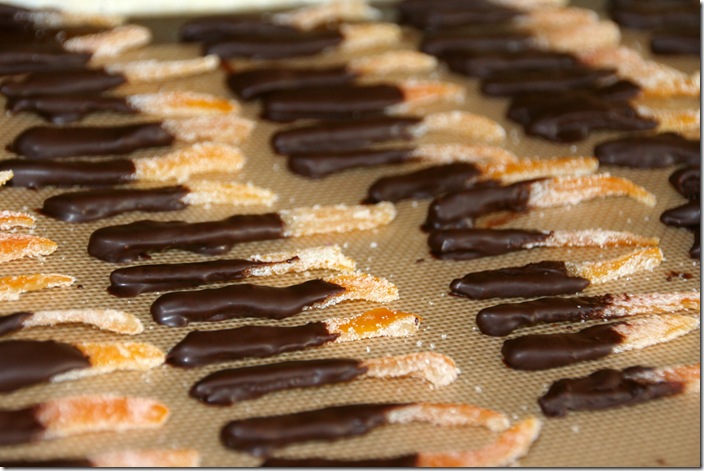
Dark Chocolate Dipped Candied Lemon Peel

IMG_3113eI’m on a bit of a lemon kick right now.  After the totally awesome Ponderosa Lemon & Sour Cream Tart which I made for my last Improv Cooking Challenge I’ve just wanted more tangy lemon desserts.  For my upcoming Crazy Cooking Challenge I managed to find a dessert which includes lemon and still meets the criteria for the challenge.  This post is a bit of a sneak preview for that challenge which will post this coming Tuesday.

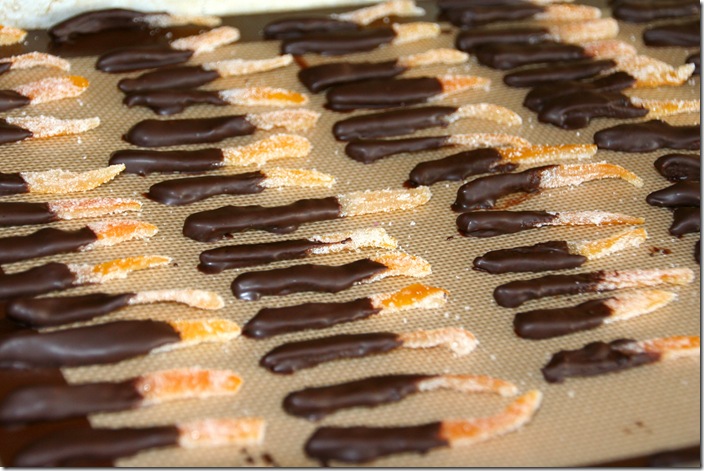
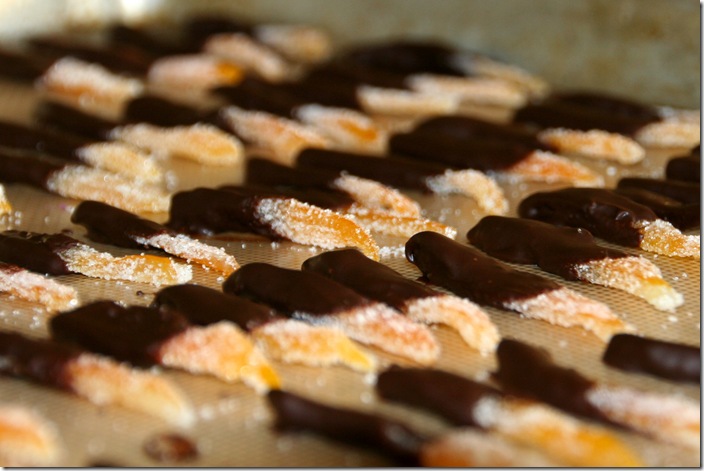
IMG_3118eAll I can say right now is that my Crazy Cooking Challenge recipe includes these delicious Dark Chocolate Dipped Candied Lemon Peels and that it’s lucky that any of them made it onto the dessert as I swear, every time I walked by the tray of these I’d grab one or two to snack on.  The combination of the dark chocolate and the chewy sweet and tangy lemon peel is pure perfection.

You can use any lemon of your choice but I chose Meyer lemons because the rind is so thin so I didn’t have to work at peeling away the white pith.

IMG_3112eDark Chocolate Dipped Candied Lemon Peel

8-10 Meyer lemons
2 cups water
2 cups sugar
extra sugar for dipping (about 1 cup)
3 oz. dark chocolate chips
2 - 3 tsp. Crisco solid shortening

Cut the lemons in half and using a lemon reamer juice the lemons.  Remove the remaining fruit pulp and as much of the white pith as possible using a spoon or butter knife.  Cut the rind into strips.  In a medium saucepan bring the water to a boil and add the lemon peels. Boil for about 5 minutes until tender. Remove the peels from the water and stir in the 2 cups of sugar until dissolved. Return the sugar water to a boil and add the peels.  Reduce the heat to a simmer and cook the peels uncovered until transparent and tender, about an hour. Using a slotted spoon remove the peels from the sugar syrup and lay the peels out on a Silpat or parchment paper lined baking sheet.  Allow the peels to dry uncovered overnight.  Reserve the lemon syrup to use in other recipes or to sweeten tea.

Place about one cup of sugar in a small bowl (add more if necessary.)  Dredge the dried peels in the sugar until they are coated and place them on a Silpat or parchment paper lined baking sheet.  Place the sugar coated peels in a warm 100F oven and allow them to dry out for about an hour or allow to sit overnight uncovered on the counter. 

Once the peels are dry, melt the chocolate and stir in a bit of Crisco to thin it out a bit. Dip the peels 2/3 –3/4 of the way up into the melted chocolate.  Lay on a Silpat or parchment paper lined baking sheet and allow the chocolate to harden.  Store the candied peel in a dry location and if you can keep from snacking on them, they’ll stay for a few weeks.
Enjoy!

Related Posts with Thumbnails