Friday, January 25, 2013

Chicken Dumpling Patties

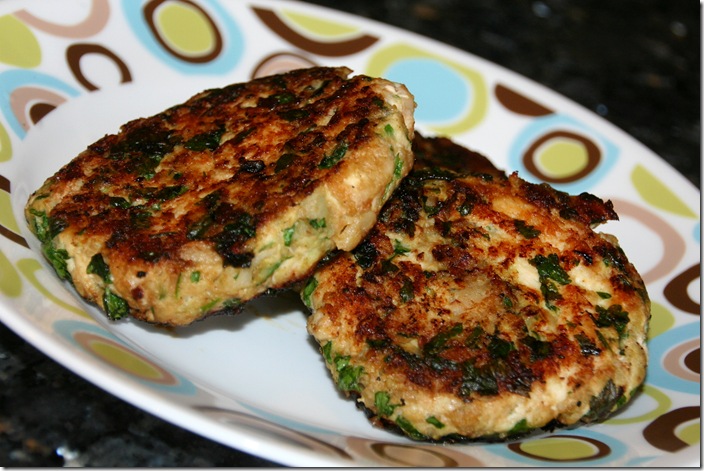
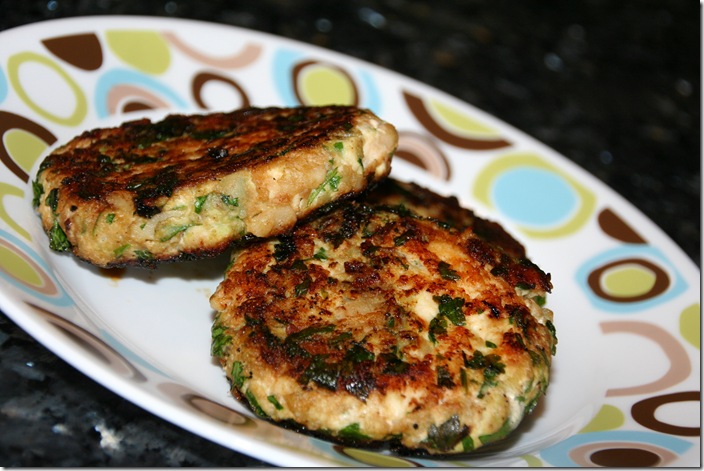
IMG_6283eMaisie adores dumplings but as she’s allergic to wheat, I make her special Pork Dumplings with Rice Wrappers which are delicious but extremely time consuming to make.  Maisie’s been asking for dumplings but life has been crazy and I just haven’t found the time to devote to making them.  I started thinking about her dumplings and realized that it wasn’t the wrapper which she loved, it really was the flavors of the filling.  It was sort of spur of the moment the night that I decided to make these patties and I happened to have boneless chicken breasts in the house so I decided to grind them up and use that meat instead of the pork, which I usually use in dumplings, and it worked out beautifully.  Since these were a last minute decision, I didn’t have any Napa cabbage so after checking my pantry I decided to add water chestnuts which worked out beautifully, providing a nice little crunch and wonderful additional moisture to the patties.  I chose to pan fry the patties to give them a little crunch on the outside and they held together well and cooked up easily & quickly. These patties really did have the flavor of dumplings and were totally delicious, super simple to make, healthy and loved by all.  I know that I’ll be making these Chicken Dumpling Patties again very soon as they’ll be a perfect Chinese New Year meal for my little allergy girl.  I also know that it won’t be the last time I make these patties as I see them becoming a regular menu item in our home especially as they travel well for lunches, freeze and reheat beautifully.  A perfect little snack or meal..

IMG_6285eChicken Dumpling Patties

In a large bowl combine all the ingredients except the cooking oil.  Form the mixture into six to eight, pointer finger thick, patties.  Heat a large cast iron skillet over medium heat and add enough cooking oil to just lightly coat the bottom of the pan.  Brown the patties on both sides making sure to not over-cook the patties but making sure that they’re cooked all the way through.  Serve the patties with Dumpling Dipping Sauce.

Enjoy!
Monday, January 21, 2013

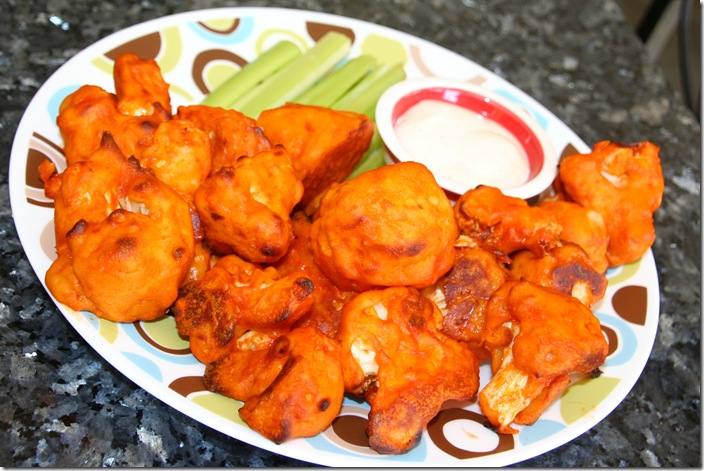
Buffalo Cauliflower ~ Baked not Fried ~ Vegetarian Style Buffalo “Chicken”

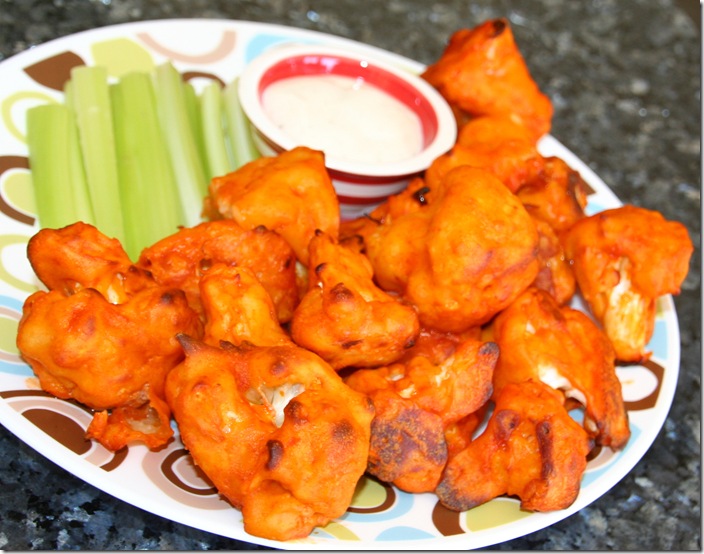
IMG_6214e I have been on quite the cauliflower binge lately but that’s what happens with it’s a super loss leader at the market and I stock up.  I’ve seen a few recipes for buffalo cauliflower but they’ve all called for frying the cauliflower and well, I’m just not really into frying and part of making Buffalo Cauliflower, in addition to using up some, is to get away from all the fat and grease of Buffalo Chicken Wings, baked or fried.  So, when I saw this Buffalo “Chicken”-Vegetarian Style from The Curvy Carrot, I knew what one head of cauliflower was destined to become.  Well holy hot sauce Batman, this Buffalo Cauliflower was freaking amazing!!  I had my doubts if I’d like the batter on the cauliflower as I’m not a batter person but I really, really loved it.  When baked onto the cauliflower the batter gave both a crunch in places and a nice chewy texture in other places and had a wonderful tangy, garlic flavor…what’s not to love?

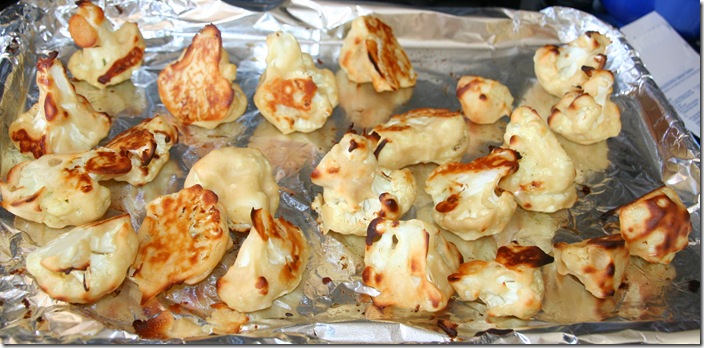
IMG_6211eI tried to keep the florets whole as cauliflower can be very delicate and fall apart but for the really big florets I did cut them in half.  I changed very little about the recipe.  I don’t keep buttermilk in the house but I always keep buttermilk powder so I mixed up what I needed and I also don’t use garlic salt so I did a combo of garlic powder and sea salt.

IMG_6217eBuffalo Cauliflower ~ Baked not Fried ~ Vegetarian Style Buffalo “Chicken” (adapted from here)

Preheat the oven to 450 F.  Prepare a baking sheet lined with aluminum foil and spray with cooking spray.  In a large bowl, whisk together the buttermilk, flour, garlic powder & salt, whisking until mostly smooth.  Very gently place the cauliflower in the bowl and lightly toss to completely coat with the buttermilk mixture.  Spread the cauliflower on the prepared baking pan and bake for about 15-18 minutes.  Keep and eye on it as it may start to brown up quickly.

While the cauliflower is baking, rinse out the used large bowl and in it, combine the buffalo sauce and the melted butter.  Carefully remove the hot cauliflower from the oven and add it to the bowl of buffalo sauce and toss gently to coat it as best you can.  Return the coated cauliflower to the baking sheet and place it back in to the oven another 5-8 minutes. Let cool slightly and serve immediately.

Enjoy!

Thursday, January 17, 2013

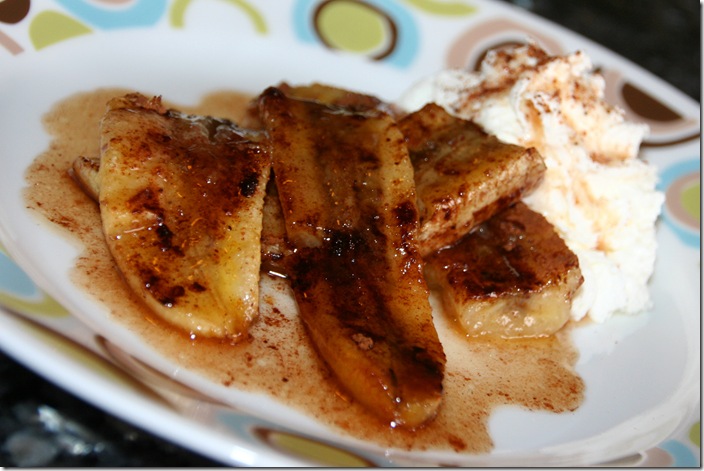
Baked Bananas

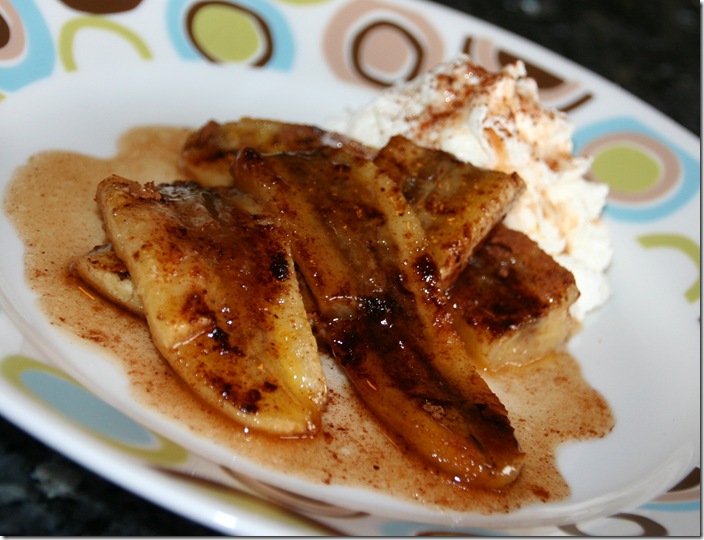
IMG_6532eIt is now month 16 of the Improv Cooking Challenge and this month our hostess Kristen of Frugal Antics of a Harried Homemaker has challenged the participating bloggers to make any recipe of their choosing using the two given ingredients of bananas & nutmeg.  Unlike last month where I just was uninspired, but still managed to make a wonderful White Chocolate Marshmallow Cranberry Cashew Bark, this month there were so many delicious things I wanted to make.  I’m talking about cakes, cookies, pancakes, muffins, fritters, ice cream and smoothies, so many wonderful things to be made with bananas and nutmeg.  But here it is, a new year, and after all our indulging over Thanksgiving, during our trip to Savannah, during our two weeks in Aruba, over Christmas, New Years Eve and then visiting with friends and our week at Disney…well I needed something delicious but very healthy.  With that in mind, may I present, Baked Bananas.  I saw this recipe on Epicurious and knew that I had found a winner. 

And a winner it is, just minutes to make, all the ingredients are staples in my home and delicious…well just insanely!!  I have made these Baked Bananas a few times already, once as a dessert with a little bit of whipped cream sprinkled with nutmeg and a few times I’ve put them over plain oatmeal, a delicious breakfast.  One night I served these Baked Bananas as a sweet little side dish along side some roasted pork (amazing combination) and I even just baked up a half recipe one night when I was craving something sweet.  I’d bet that these bananas would be fabu over some vanilla ice cream…one day I will give that a try.  I suggest that you give this recipe a try as you’ll be amazed at how just a few ingredients and a tiny bit of time totally transforms simple bananas into an insanely delicious treat.      

IMG_6535eBaked Bananas (adapted from here)

  • 2 bananas
  • Juice of 1 lemon
  • 1 TBS, dark rum  
  • 1/4 tsp. ground roasted cinnamon 
  • 1/8 tsp. ground nutmeg 
  • 1 TBS. Whey Low Gold or brown sugar 
  • 1 TBS butter 

    Preheat the oven to 400°F. Peel the bananas and slice in half lengthwise. Lay the pieces into a buttered 9x9x2-inch ovenproof dish. Pour the lime juice and rum evenly over the bananas. Sprinkle on the cinnamon, nutmeg, and brown sugar. Dot on the butter and bake for 10 to 15 minutes. Serve hot with a bit of whipped cream sprinkled with a pinch of nutmeg.

    Enjoy!

    My previous Improv Cooking Challenge entries:

    December 2012  Chocolate & Marshmallows:  White Chocolate Marshmallow Cranberry Cashew Bark    
    November 2012  Sweet Potatoes & honey: Sweet Potato Glass Noodles with Honey Garlic Lime Shrimp 
    October 2012  Oatmeal & RaisinsS’mores Granola Bars   
    September 2012  Zucchini & Brown Sugar:  Zucchini with Onion & Brown Sugar 
    August 2012  Tomatoes & Peppers:  French Fries Hash Browns 
    July 2012  Corn & Butter:  Fritos Crusted Pollock 
    June 2012  Cherries & Almonds:  Dried Cherry Almond Tart 
    May 2012  Strawberries & Cream:  Strawberry Soup 
    April 2012  Peanut butter & Jelly:  Peanut Butter & Jelly Bars 
    March 2012  Potato & Cheese:  Loaded Potato & Buffalo Chicken Casserole 
    February 2012  Ginger & Carrots:  Shrimp & Avocado Salad with Carrot Ginger Dressing 
    January 2012 Lemon & Sour Cream:  Ponderosa Lemon & Sour Cream Tart 
    December 2011 Eggnog & Cranberries:  Eggnog Popovers with Cranberry Butter 
    November 2011 Pumpkin & Cream Cheese:  Praline Pumpkin Cheesecake
    October 2011 Caramel & Apples:  Caramel Stuffed Apple Cider Cookies

  • Monday, January 7, 2013

    Creamy Mints

    IMG_6207eDue to everyone being so busy with the holidays, it was decided that the Secret Recipe Club would take December off.  Each month I love participating, posting and seeing what everyone else makes, so I really missed it but with our trip to Savanna for Maisie’s state meet, then two weeks in Aruba, immediately followed by Christmas and then New Years…well it was a good thing.  Now though it’s great to be back again and I’m excited to post and see what everyone else made this month.  We received our January assignment very early, right before Thanksgiving in fact, and I couldn’t wait to check out my assigned blog, Kate’s Kitchen Trial & Errors,  

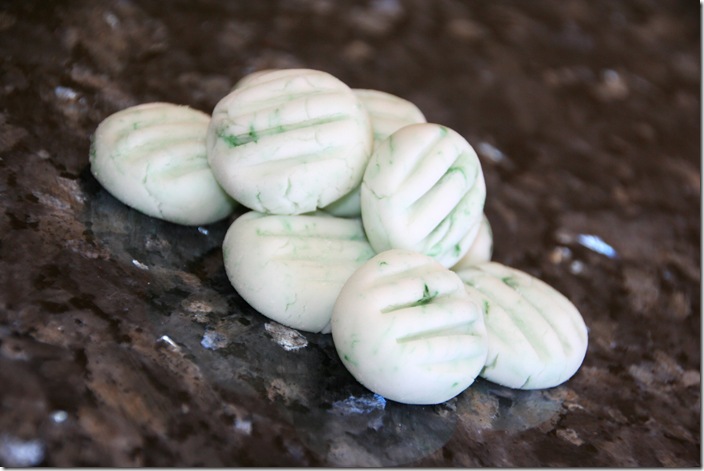
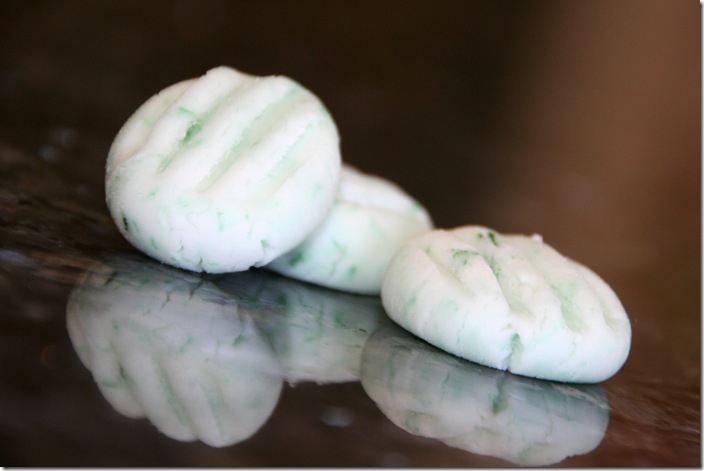
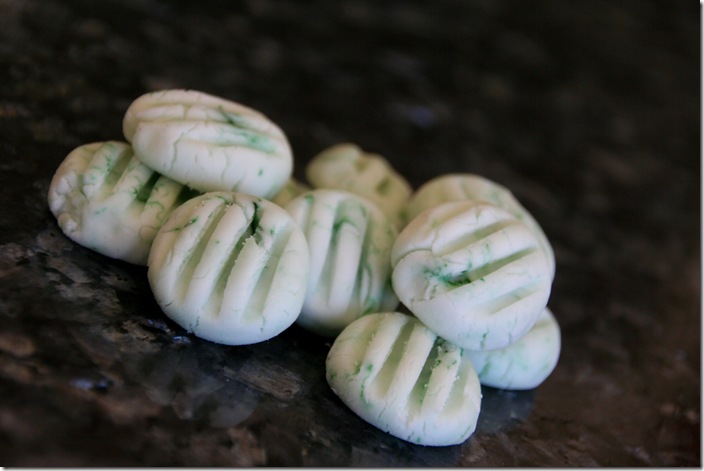
    IMG_6189eI loved browsing through Kate’s blog and non-food related, seeing some pictures of her cutle-patootie baby Winn.  On the food-side, so many of Kate’s recipes called to me and I love that her husband, like me, adores all things lemon so she has a lot of lemony recipes on her blog, all of which I wanted to make.  I mean, check out her lemon shortbread cookies or even more enticing, lemon curd shortbread sandwich cookies…YUM!  Of course with the cold weather her Creamy tomato soup, apple chicken chili, holiday shortbread cookies, and Indian butter chicken all sounded wonderful too.  Then, as my Mom was here when I got my assignment, I almost made Chai biscotti for her as she adores both biscotti and chai so putting them together would’ve make her happy,  Then I thought, Creamy white hot chocolate for my white chocolate loving husband, or how about her creamy corn with cilantro… but I was afraid that I’d eat the entire bowl myself like I can do when I make my, very similar, Creamed Corn with Cheese & Cilantro.  You can see why it was such a tough decision for this month.  In the end I opted for her creamy mints recipe, because they’re a perfect little treat and I made them just in time for the holidays…not that they lasted that long because we couldn’t stop eating them…each-and-every-time we walked by them we had to grab one or two.  I will be making these again and again…and I’m thinking lemon next time!

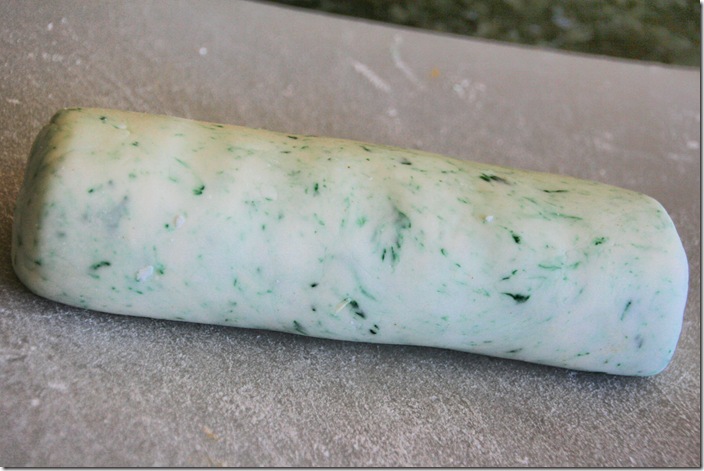
    IMG_6185eJust a drop of gel food coloring added at the end gave me a nice variegated minty look.

    IMG_6192eKate rolled her mints in superfine sugar but I chose to omit that step and I think that they still look delicious.

    IMG_6196e1Creamy Mints (adapted from here) 

    • 6 tablespoons (3 ounces) reduced fat cream cheese, softened
    • 1/4 teaspoon peppermint extract
    • food coloring (optional) -  i used green gel and added it at the end so that it didn’t mix in fully allowing the streaky color variations
    • 4 to 4 1/2 cups powdered sugar 

    Using a stand mixer, beat the cream cheese until soft and fluffy, about two minutes. Add the mint and food coloring, if using, and mix until blended. Add the confectioners sugar, 1/2 cup at a time, until it forms a stiff mixture.  Using about 1/2 teaspoon of the mixture. roll into balls and then using the tines of a fork press a pattern into each mint.  Allow the mints to dry for a few hours and then store in the refrigerator.

    Makes 6 dozen mints.

    Enjoy!

    My previous Secret Recipe Club Recipe Posts:

    Thai Peanut Noodles with Chicken 
    Baked Buffalo Chicken Wings 
    Fried Green Tomatoes 
    Chicken Satay Noodle Salad 
    Double Chocolate Mousse Cake 
    Candied Popcorn
    Fruit, Nut & Poppy Seed Chicken Salad 
    Broiled Sushi 
    Health(ier) Peanut Brittle 
    Crunchy Fudgy Heart Bites 
    Texas Chicken with Lime Butter 
    Pork Belly Soup with Collard Greens 
    Thin Mint Irish Coffee 
    Levain Chocolate Chip Walnut Cookies 
    Welsh Cakes 
    Nutella CrĂŞpes 
    Cilantro Lime Chicken 
    Holy Guacamole 
    and
    Home Style Chicken Curry


    Secret Recipe Club

    Tuesday, January 1, 2013

    Sweet Potato Cranberry Nut Cookies

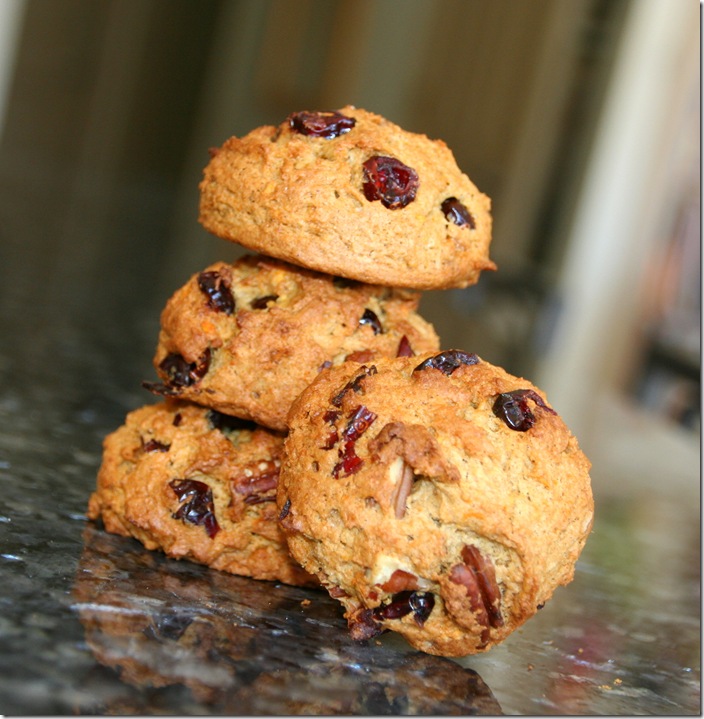
    IMG_6199eHere it is, January 1, 2013 and I hope that everyone had a wonderful New Year’s eve and we wish everyone a wonderful and delicious year.  I’m hoping that in this new year I can be a bit more organized and caught up with things as here I am, still posting recipes from Thanksgiving. 

    After Thanksgiving I had some leftover sweet potatoes and I couldn’t decide what to do when them until I saw a recipe for Sweet Potato Cookies on Stephanie’s blog, Eat Your Heart Out and I thought, what a perfect way to use them, and as it worked out,  I had all the other ingredients needed for the recipe already in my pantry.

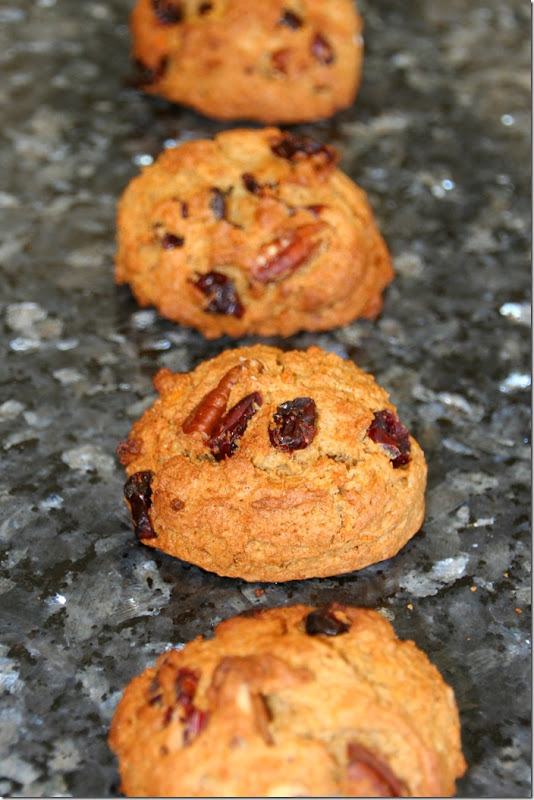
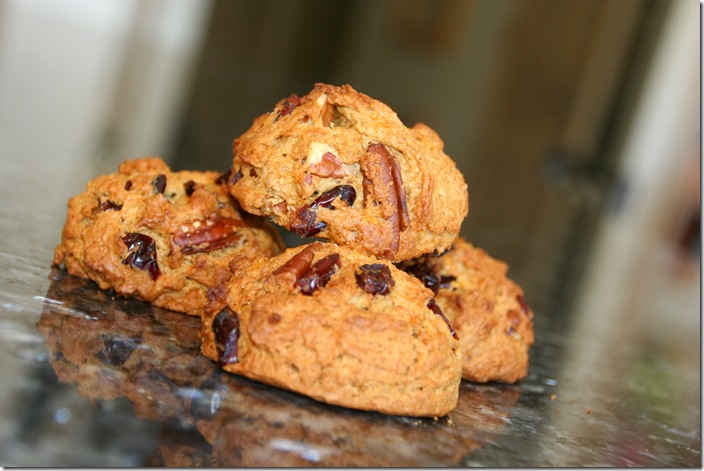
    IMG_6200eThese cookies were wonderful, almost a cross between a cookie and muffin.  I loved these cookies plain, but even better when they were heated a little in the microwave, split open and topped with a nice pat of butter  My parents too really loved the cookies and my Mom has been asking for weeks now, that I post the recipe, so for her this is my first recipe of the new year. . 

    IMG_6203eSweet Potato Cranberry Nut Cookies (adapted from here) 

    Preheat oven to 350 F. Prepare two baking sheets lined with Silpats or parchment paper.

    In a large bowl, whisk together the eggs and Whey Low Gold (or brown sugar) until thick and pale.  Whisk in the coconut oil until well combined.  Stir in the sweet potato & vanilla extract.  Add the flour, baking powder, baking soda & spices. Fold together with a spatula until no flour remains. Fold in the crystallized ginger, cranberries and chopped pecans.

    Using a large cookie scoop portion out the batter onto the prepared pans.  Bake for 10 to 12 minutes, or until puffed and lightly golden and a toothpick inserted into the center of one of the cookies comes out clean. Allow to cool for 5 minutes on the baking sheet before removing to a wire rack to cool completely.  Cookies will last, well wrapped, at room temperature for up to 4 days. If storing in layers, separate with parchment or wax paper so they don’t stick together.

    Enjoy!

    Related Posts with Thumbnails